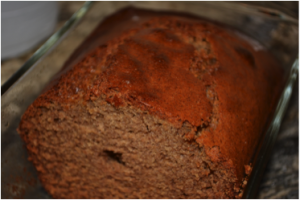
For those of you who know me, you know that it absolutely pains me to throw food away. It’s for that reason that I LOVE to freeze fruit before it gets to that point of ‘no return’…gotta love those smoothies! It helps me justify the cost of the blender I love so much 😉 So when I looked at the fruit basket the other day and noticed that my bananas where getting close to that point, I decided to throw some into the freezer for future smoothies. HOWEVER, upon looking into my freezer, I saw that I already had quite a stash of frozen ‘nanners (note to self, stop buying so many of them!), I decided to make something else using those ugly, albeit sweet, brown spotted bananas.
Since I don’t bake often, I don’t really have a bunch of baked goods recipes, so I decided to try out one of the many ‘pinned’ recipes I have using bananas. With the cold days we’ve had lately, I thought that a sweet, warm slice of banana bread sounded most awesome! So after looking at recipe after recipe after recipe…I decided to take some of the ingredients I kept seeing, and throw something together. Note: There is a reason I am not a great baker! I’m sure most of those recipes I saw were great “as is”, but the cook in me thinks, “that’s too much sugar” or “I’ll bet THIS would really make it great”, which sadly in baking usually turns out that (said recipe) really DID need that much sugar, and nope, that particular ingredient will not be yumma…..just not this time sister! Thankfully, this time, it worked out!
Oh, and one more thing… I had JUUUST finished doing the dishes, and I didn’t feel like doing a ton more, so glancing over at my blender I thought, “why not?!” I literally threw all of the “wet ingredients” in the blender, gave it a blitz until it was smooth, poured it all into a bowl with the dry ingredients and Bingo Bango, DONE! Superstar mom had delicious banana bread waiting for the nuggets when they got home from school and BONUS, the prep time was like 10 minutes TOPS (and that included washing the blender and putting everything away when I was done!) This isn’t anything fancy, but a great honest to goodness homemade banana bread that tastes just yummy and wholesome! Enjoy! Xoxo
Let’s get those ingredients ready! You’ll need: very ripe bananas, coconut oil (melted), granulated sugar, brown sugar, vanilla, baking soda, eggs, flour and cinnamon.
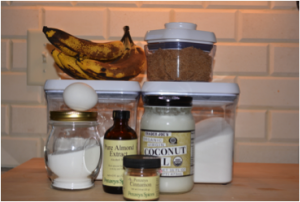
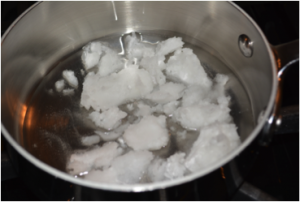
You could TOTALLY substitute melted butter for the coconut oil, but I always have some on hand, and I don’t always have butter. I like to measure mine out, then put into a saucepan over LOW heat, and let it do its thing. It will be melted and perfect in no time! Below you’ll see it already starting to melt.
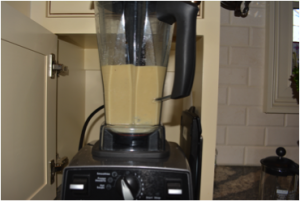
 Into your blender, add the bananas, melted coconut oil, sugars, vanilla and egg. Turn it on high and blitz until creamy and smooth. While it’s blending…
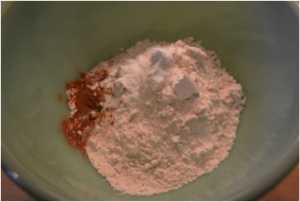
 Add the remaining ingredients to a bowl, and using a whisk, mix well to combine.
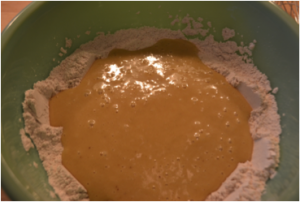
 Pour the banana mixture into the bowl with the dry ingredients, and using the same whisk, mix well so that everything is well incorporated, and pour into a bread pan that you’ve sprayed with a little non-stick spray.
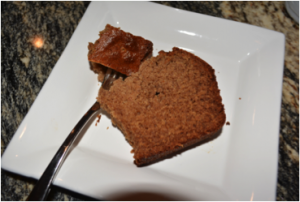
 I wanted to take a picture of the whole banana bread, but before I knew it, there were tiny hands helping themselves to a little after school snack ☺

Cyn’s Blender Banana Bread
4 very ripe bananas
1/3 C coconut oil, melted
½ C granulated sugar
¼ C tightly packed light brown sugar
1 tsp vanilla
1 egg
1 tsp baking soda
1 ½ C All-purpose flour
1 (heap) tsp cinnamon
* Add the first six ingredients to a blender, and blend on high until smooth and creamy.
* Add the last three ingredients to a bowl, and stir well with a whisk. Add the banana mixture to the bowl, and whisk well so that it’s all incorporated then pour the batter mixture into a prepared bread pan.
* Bake on 350 for 40-45 minutes, or until a wooden stick inserted in the center comes out clean.
*** I baked mine on the convection setting, and it was done at the 43 min mark. For all you bakers out there, I used a regular glass bread pan, so make time adjustments if you’re using tin (someone told me that it makes a difference in the cooking time). Just start testing with a toothpick right around the 40 minute mark and you should be great! Enjoy!


1 comment
Looks wonderful. Great idea to use the blender.