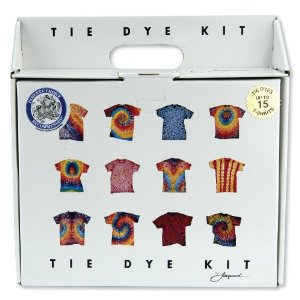
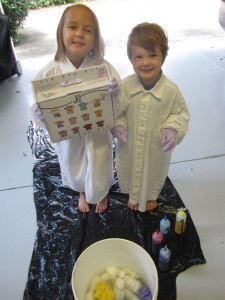
 For Christmas last year, Santa brought a tie dye kit. I finally got around to breaking it out after months of getting berated and begged by craft-addicted-little-tyrants. I wanted to wait until it was warm since the thought of permanent dye inside my house made me dizzy.
I know what you’re thinking. It gets warm here in the Spring so WTH took so long to open the kit? Well, I was intimidated and frankly very scared of what it entailed. And once it got warm, I had better things to do like see if my white jeans from last year still fit and find a watering hole with outdoor seating. So, I hid it from them and they stopped asking and I forgot that I hid it and I accidentally found it. So, here we sit…9 months later.
 I am so happy that I finally took the plunge. This kit is the best.gift.ever and yes my arm hurts from patting myself on the back for thinking of it as a Christmas gift. Santa should thank me for making him look so good on my time and my dime.
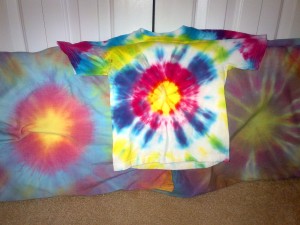
The Jacquard Tie Dye Kit is on Amazon.com and truly is dummy proof. There’s a nifty DVD that shows you exactly what to do. We made 10 kid-sized tie dye shirts and some tie dye pillow cases and still had plenty of dye leftover. I was so into it. Anything made of white cloth in our house hid from me out of fear of becoming my next psychedelic victim. It was addictive. I highly recommend this kit; you will have a blast long after your kids are over it (there are lots of steps and prep and they want it NOW).
 Here are some tips that I could have used:
1. Buy a few packs of 100% cotton tee shirts. They come shrink wrapped in plastic in packages of 3, 5, etc. You can also get some white pillow cases and a sheet set (although tie dying sheets could take a while and require lots of prep space and lots of time and lots of rubber-banding…consider this fair warning…just sayin’). The directions say to wash everything beforehand however I accidentally skipped that step and all came out fine.
2. The kit comes with 1 pair of rubber gloves. You will need gloves for everyone who is participating. If you have a nurse or doctor friend, ask for some of those latex gloves that come in a tissue box. They are perfect.
3. The kit has everything needed to mix the dye – bottles, dye powders and the pre-soak soda ash powder. There are also enough rubber bands included if you are doing tee shirts and pillow cases.
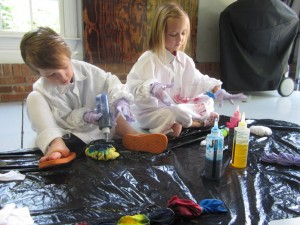
 4. Before telling your kids “hey, we’re going to tie dye today”, complete all of the prep work – wash the items (or not), soak them in the soda ash water, watch the DVD, decide on the patterns, rubber-band everything you are going to tie dye, setup work space, gather grocery bags (you need a bag for every item because items have to sit overnight). Older kids can help with the rubber banding however mine are 3 and 6 and didn’t want any part of that – they just wanted to apply the dye.
5. Do this craft outside. I layed out huge black garbage bags (cut them down the sides so they made a large canvas) in our garage. Laying the garbage bags in the yard would work better as you wouldn’t have to worry about spills staining anything. Next time…
6. Your kids (and you) will get this dye on everything and on themselves. I dressed them in my husband’s discarded button down dress shirts, which made perfect smocks.
This kit would make a great birthday gift for boys and girls of all ages. It was so much fun. Happy tie dying, Smarties!


3 comments
Love this – I’m terrified to tie-dye but your steps make it seem do-able. Or can I just buy the kit and have my kids come to your house to do it?? 🙂
So fun! Take it a step further and get that bad boy monogrammed in a funky font at Alphabet Soup or Poppies and that thing will be worn for YEARS.
Monogramming is meant for the girls, not boys. That will ruin the cool factor for them.