CSP Note: This is the first in our Smarty Tween series. You’ll be seeing more of our Smarty Tweens, Isabel and Ava, as they start to blog! Hope you enjoy what’s going on with our lil’ Smarties – and make sure to share with the tween in your life :-).
I love to do DIY projects. I’m obsessed with watching HGTV and the DIY channel, and I love searching Pinterest for projects – especially projects for my room. I recently came across this super simple DIY project from DIY ready. This project is so cool and will look so good in any room!! The thing I love about this project is that you can use different color paint chips to make it go with your room or make it unique with different colors!!! It’s basically free because you can go to any local home improvement and collect your favorite colors. My mom and I had so much fun picking out these colors.
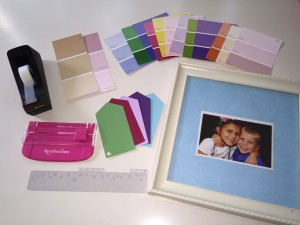
Here’s what you need:
– Tape
– Paint chips (I used a different color per day and five in the border, so I had 36 paint chips)
– Ruler
– Paper cutter or scissors
– A picture frame and paper (I used a picture frame I already had)
I first needed to lay out the border to see how many paint chips I needed at the top of my calender. It depends on the size of the picture frame and your piece of paper for how many paint chips you will need at the top.
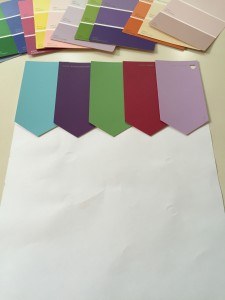 Next, I cut the pieces of paint chips that I would use to do the days of the week. A paper cutter works very well or scissors.
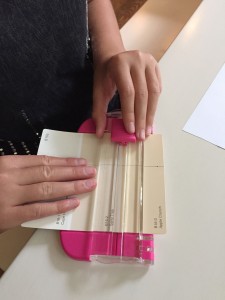 You can also switch it so you can see the name of the paint chip in the calender. I did this for the names I thought were funny!! This one is called “Bell Pepper.”
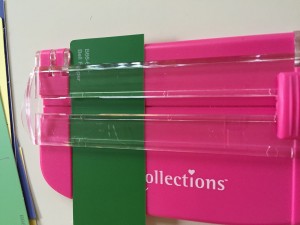 Finally, all my paint chips that would be used for the days were cut!
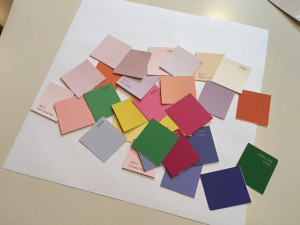 I took my time by laying out the chips in the order I thought was best.
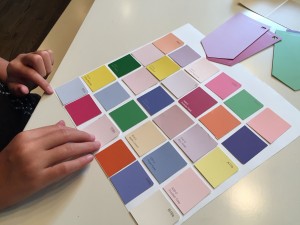
This is what the calender looks like when the border isn’t cut yet but the days are. My piece of paper only fit six chips so I made Saturday and Sunday into the same square.
I used double sided tape to place my paint chips on.
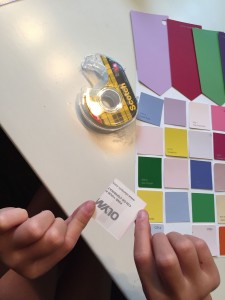 Once all of my paint chips for the days of the week were finished it was time to cut the border.
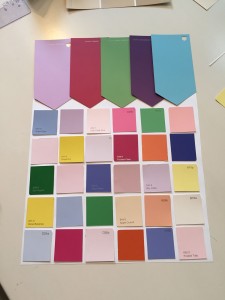 This step depends on how big your piece of paper is – just place the paint chips across the top and mark where you need to cut. This is what the project looks like before it is brought into the frame.
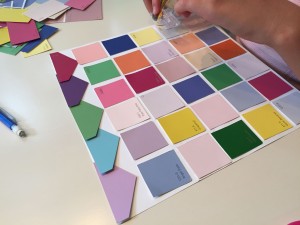 Next, I placed my calender into my picture frame, wrote the month at the top with a dry erase marker and placed numbers and words on the rest of the paint chips.
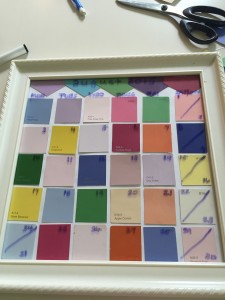 This is the finished project in action hanging in my room and updated to September. It’s so easy to change the month and days.
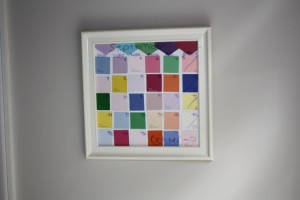 This project is super cheap and has a great look to it!! I hope you guys enjoyed this really fun DIY project. It is so much fun that I would do it again in a heartbeat!!



3 comments
Adorable idea! So cute and a great use of all the paint chips my girls love collecting. Good job Ava. You have one cool mom!
I loved your article Ava! Great job!!
Super cute!! I am totally going to get the girls to make one for their rooms.